
Pocket Creature 2 - my modifications to the pattern
I've got most of the second Pocket Creature done. I did the short row "cup", like I talked about, then used a combination of picking up stitches and casting on to start on the body. I liked that a lot better than all the sewing. Using these alterations, I didn't have to do any seaming at all. I ended up with a fatter body than on the first one, which I also like better. (I think the pattern calls for 24 stitches around. I had 32, and 24 around the fattest part of the head.) I ended up doing the neck as the pattern says, though I kind of fudged how and when I decreased and increased, because it wasn't worth the trouble to look up the pattern again. I used the same idea, anyway. The hair was made by threading 9 pieces of yarn through the little hole, where I cinched the remaining stitches together at the top of the head. Then I just tied them into a knot on the inside of the head, so they wouldn't come loose. The arms were made just like the tail, by threading through 3 strands of yarn (doubled to 6), then braiding. I like these arms a lot, and will probably use them as my default if I make more little creatures. I think the little braids will make it easier to really get your hands around the creature than fat icords will, and they're a lot less fiddly to make.
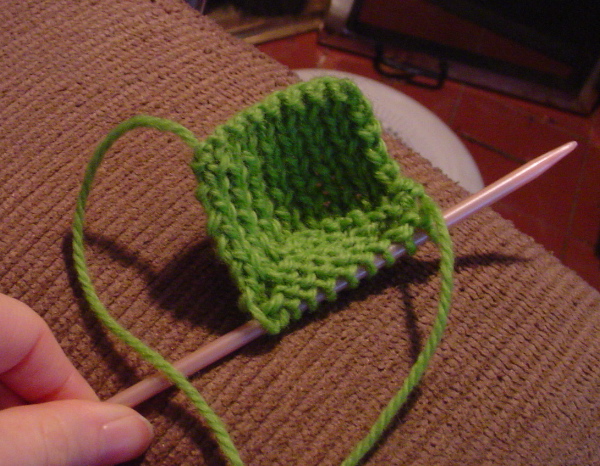
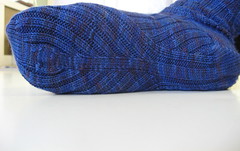
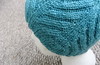
The flap, with short rows to create the cup. The flap is about 1.5" of 1x1 ribbing, as the pattern suggests. I did the short row turn just like on your standard sock heel, doing ssk k1 on RS rows, and p2 tog p1 on WS rows. I started out the short rows leaving 4 unworked stitches on either side of those first turns. That seemed to work fairly well.
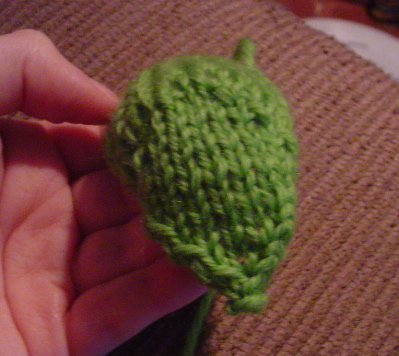
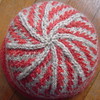
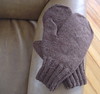
Here is the finished bottom of the creature. After doing the above short row shaping, I knit a couple of rows, then did some decreases to create the ovalish thing. Nothing too exacting. I just did what seemed right.
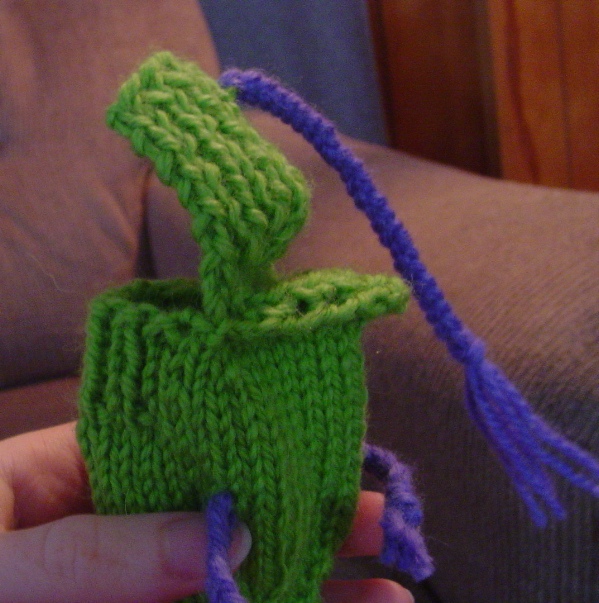
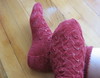
Here's how the whole bottom setup looks, with the buttflap out. Plans for this weekend include stuffing the creature's butt like a Thanksgiving turkey. (I have a feeling this is going to be one of those posts that generates lots of "interesting" hits from unfortunate Google searches.)
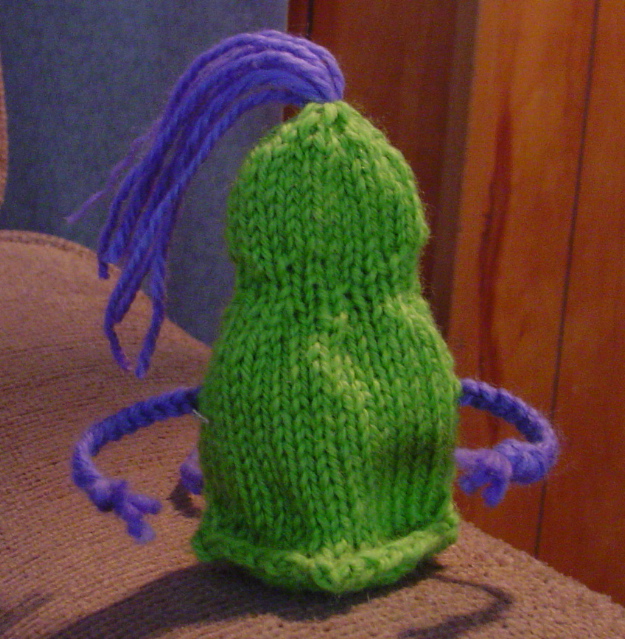
Another reason I really like my method of creating thebutt base is that this creature stands up a lot better than the other one. Not that it matters that much if it's just going to live in a pocket, but this feature means I will consider making some purely for decoration.
Any great face ideas? I'm still undecided for this little guy. I'm thinking it might be fun to see if I can find little pieces of felt for face parts. That would be less fiddly than buttons and embroidery, I think.
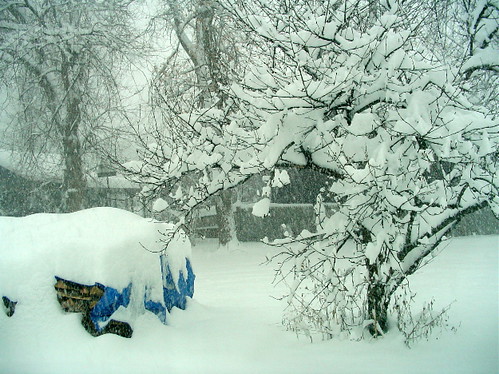
And as if this post weren't already picture heavy enough, I just need to show you how buried in snow we are:
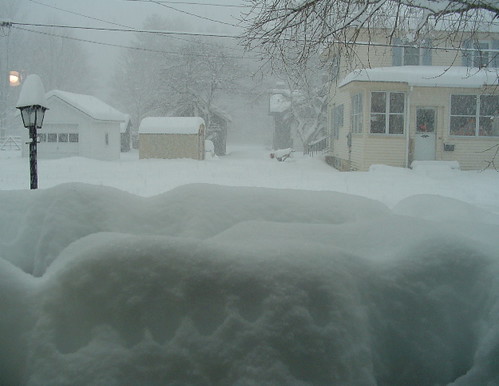
Don't worry. We have bushes out front, so the snow really isn't up to the windows.
The flap, with short rows to create the cup. The flap is about 1.5" of 1x1 ribbing, as the pattern suggests. I did the short row turn just like on your standard sock heel, doing ssk k1 on RS rows, and p2 tog p1 on WS rows. I started out the short rows leaving 4 unworked stitches on either side of those first turns. That seemed to work fairly well.
Here is the finished bottom of the creature. After doing the above short row shaping, I knit a couple of rows, then did some decreases to create the ovalish thing. Nothing too exacting. I just did what seemed right.
Here's how the whole bottom setup looks, with the buttflap out. Plans for this weekend include stuffing the creature's butt like a Thanksgiving turkey. (I have a feeling this is going to be one of those posts that generates lots of "interesting" hits from unfortunate Google searches.)
Another reason I really like my method of creating the
Any great face ideas? I'm still undecided for this little guy. I'm thinking it might be fun to see if I can find little pieces of felt for face parts. That would be less fiddly than buttons and embroidery, I think.
And as if this post weren't already picture heavy enough, I just need to show you how buried in snow we are:
Don't worry. We have bushes out front, so the snow really isn't up to the windows.
posted by Rebekkah at 3:55 PM
![]()
![]()


0 Comments:
Post a Comment
<< Home